How to add an Opayo pay now button to PDF documents
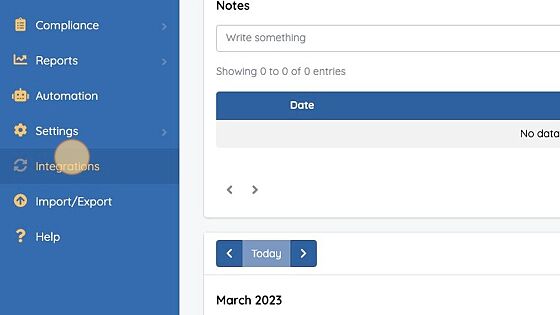
1. Click "Integrations"
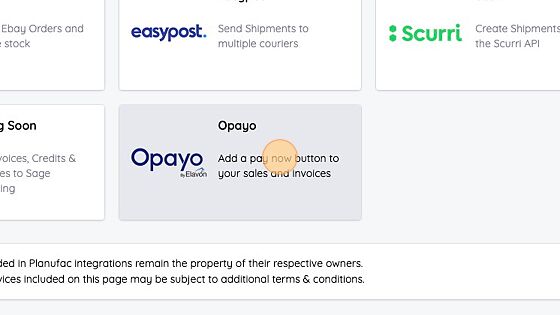
2. Click "Add a pay now button to your sales and invoices"
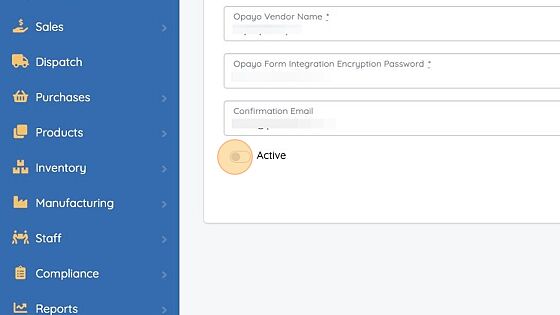
3. Enter the Opayo details:
- Opayo Vendor name
- Opayo Form Encryption Password.
- If you wish to receive confirmation emails from Opayo enter an email address in the confirmation email field.
Click the active button to enable the pay buttons.
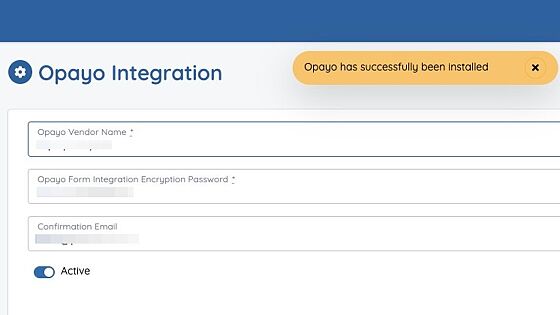
4. Click "Save"

5. Opayo is now installed
Viewing the Pay Now buttons
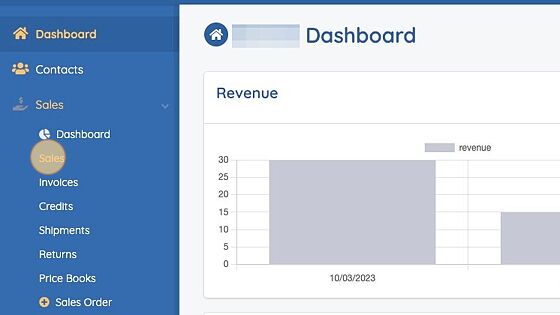
1. Click "Sales" from the menu
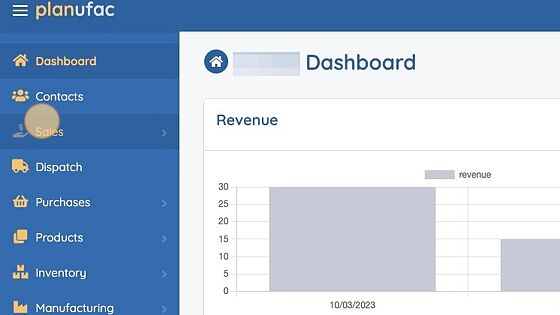
2. Click the "Sales" sub menu item
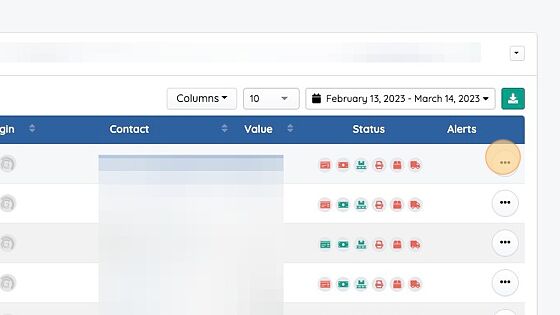
3. Click the menu button for a sales order
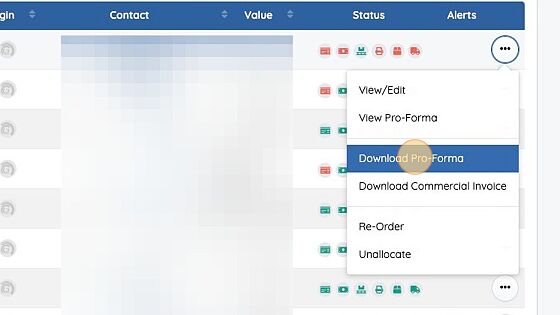
4. Click "Download Pro-Forma"
This option only appears if the order has not been marked as paid and is not cancelled
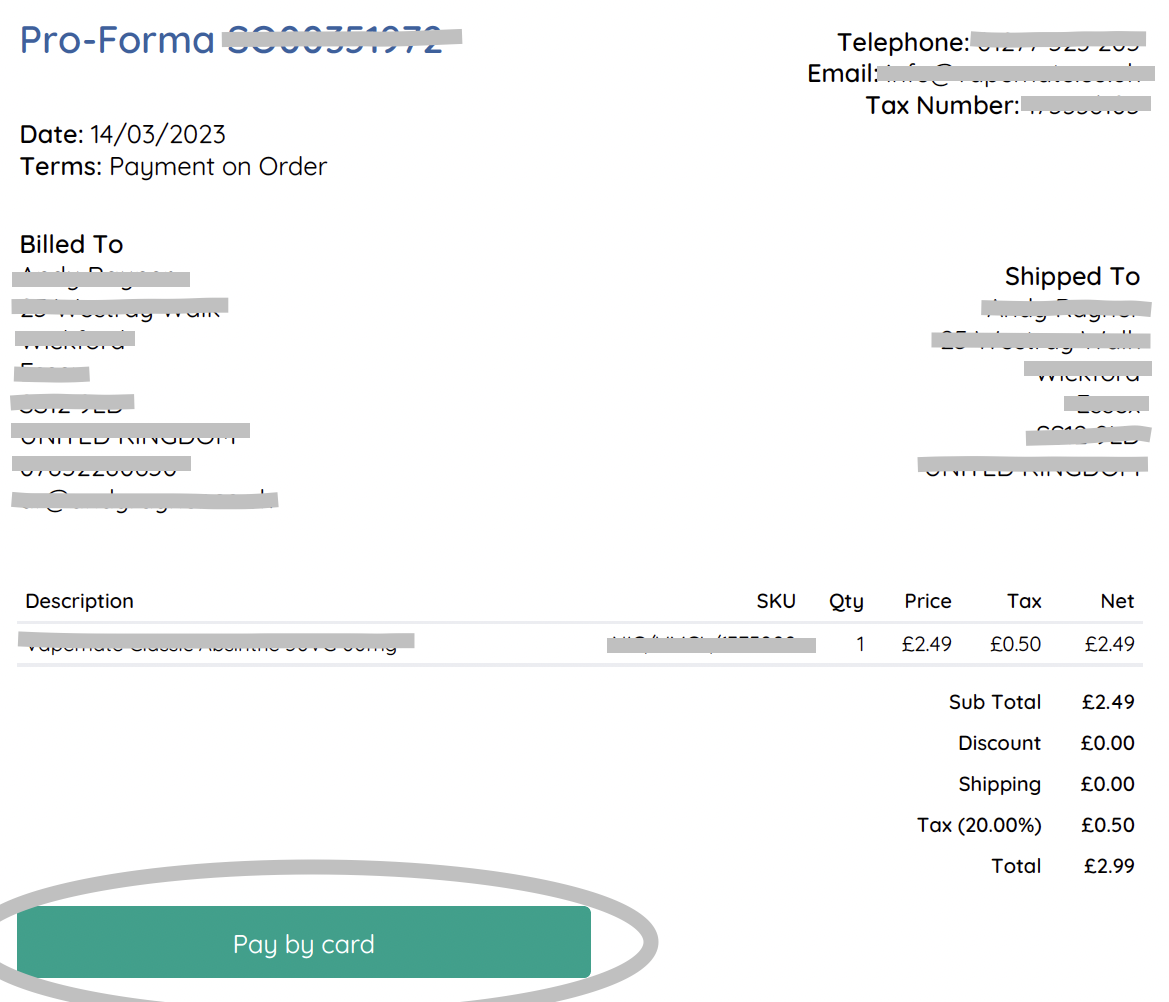
The payment flow
After clicking the "Pay by card" button in a Pro-Forma or Invoice document, the customer will be directed to a payment page within Planufac. The customer does not require a Planufac login to access this page.
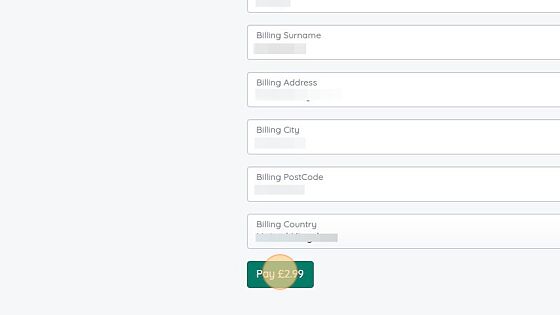
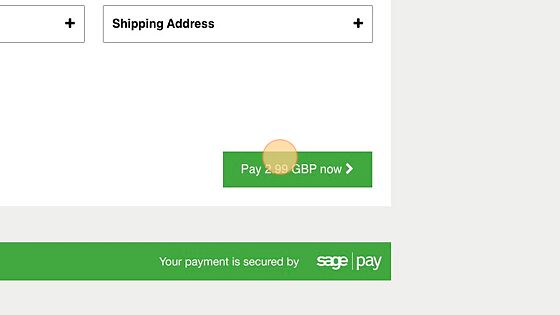
1. The customer information will be pre-populated from the default billing information from the contact. The customer is free to change this information if it is not relevant for payment.
When the customer clicks the pay now button, they will be redirected to the Opayo payment pages.
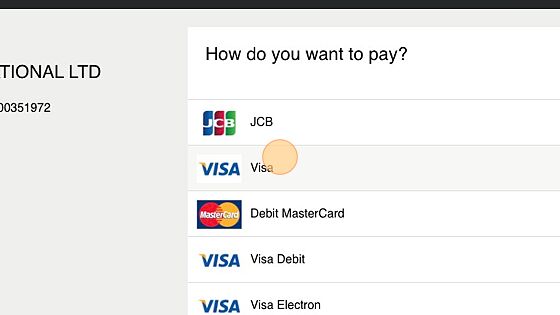
2. Customers enter their payment information
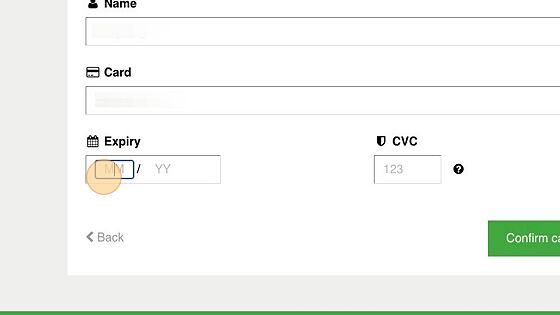
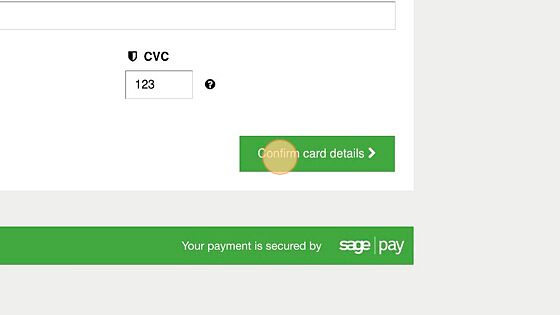
After successful payment the customer will be redirected back to Planufac where a confirmation page will be displayed.
The Sale/Invoice will be marked as paid. If the customer is paying a Pro-Forma (Sales Order) the order will be tagged with "paid_by_opayo" which can be used in filters.